Contacts defined by the assembly
Locate contacts against the lid, frame or other mating part and establish the clip's function in the assembly.

 Enlarge image
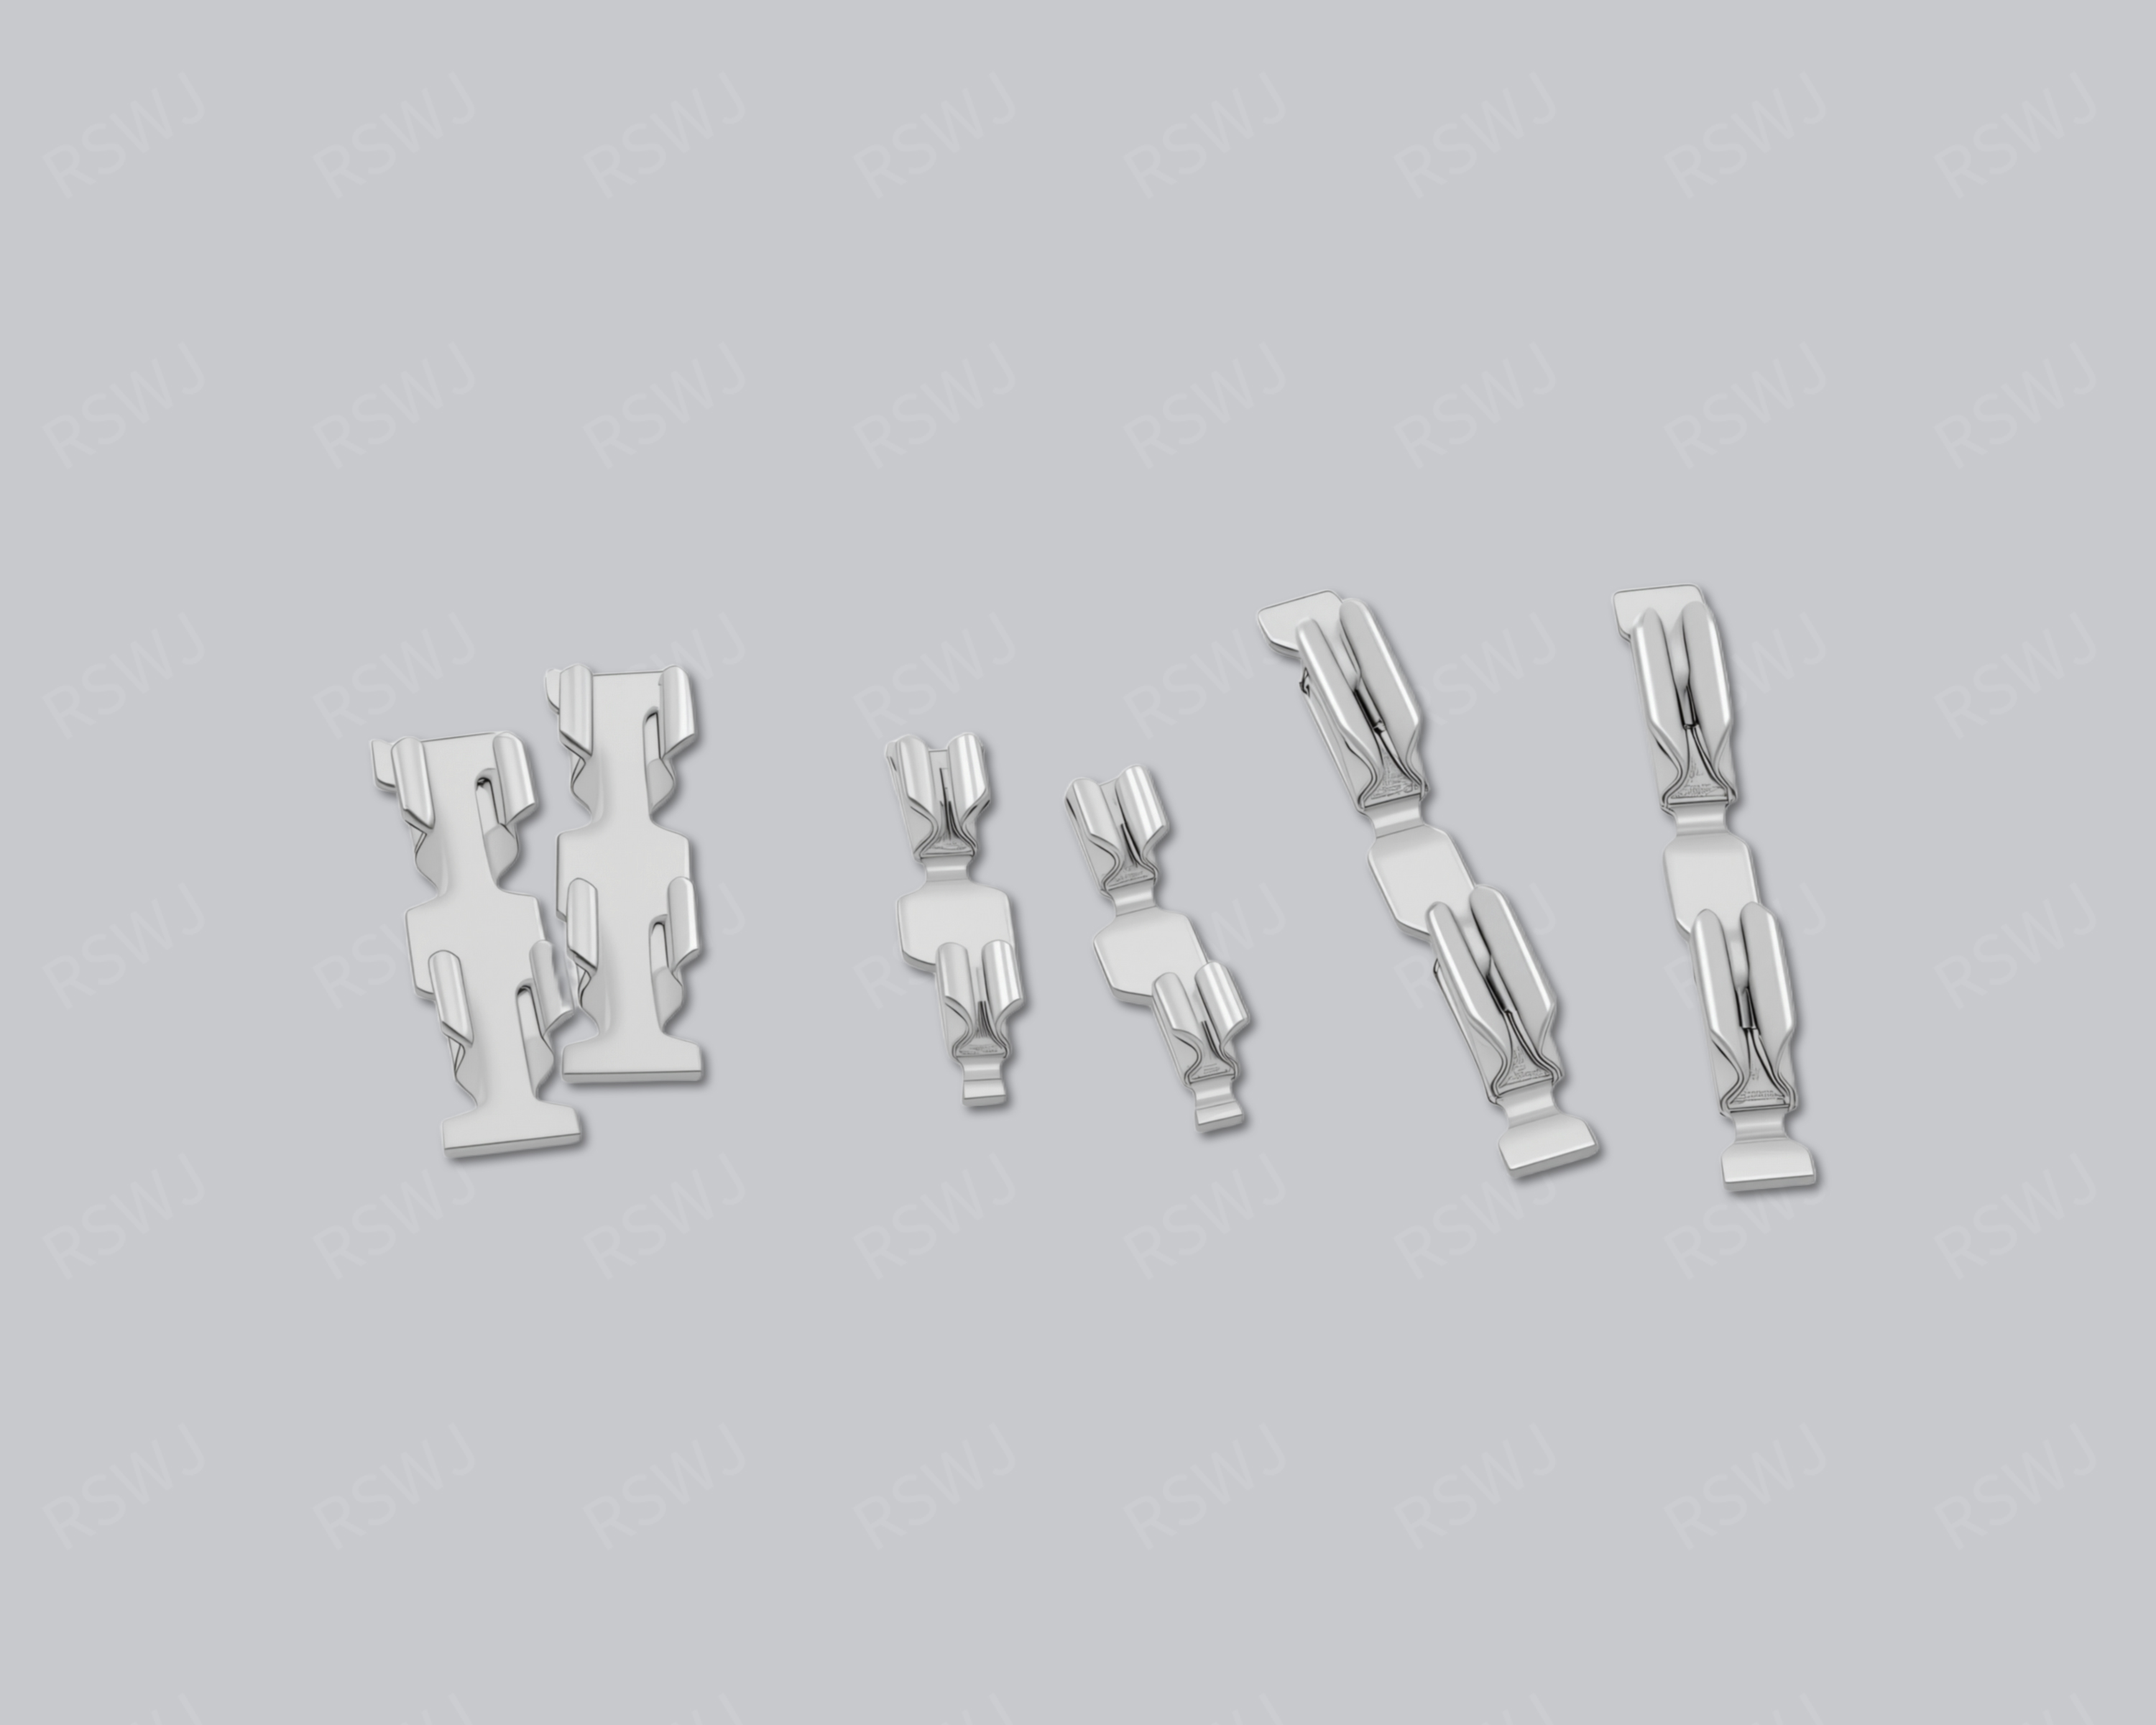
SHIELDING CLIP
Review the clip against its mating surface and installed working space, including the fixing method and contact checks.
Design the installed spring-contact condition around the lid, frame or other mating surfaces.
Use the image as a design reference. The agreed drawing and sample define the supplied part.
STRUCTURE & FUNCTION
A shielding spring clip is a contact component whose mating surfaces and function need to be defined within the assembly. Specify its free state, installed working clearance and attachment method together before validating samples with the actual mating parts.
Locate contacts against the lid, frame or other mating part and establish the clip's function in the assembly.
Describe the free geometry separately from installed clearance so the intended contact and deflection conditions are part of the design.
Assess material, thickness and surface finish against spring action, contact areas and the agreed inspection tasks.
CUSTOMIZATION DETAILS
Share dimensions, mating-part information and operating requirements so we can review the manufacturing and inspection approach.
| Design item | What to discuss | Information to provide |
|---|---|---|
| Mating and contact surfaces | Identify contacts with the lid, frame or another structure | Assembly drawing, mating dimensions and component revisions |
| Free and installed state | Define free geometry, installed height and working deflection separately | Free-state drawing, installed section and working clearance |
| Mounting and attachment | Establish attachment, locating and operating clearance for the assembly sequence | Mounting interface drawing and installation procedure |
| Contact areas | Specify contact surfaces, engagement positions and fit checks | Contact drawing, mating-surface information and inspection requirements |
| Material and finish | Discuss material, thickness and treatment for spring and contact functions | Material, thickness, finish and relevant project conditions |
| Matched sample validation | Charged: standard samples 3–5 days; expedited sampling 48 hours; tooling and sample production 7–10 days. Sample stage only; volume production and delivery excluded. Use a process suitable for the component | Mating parts or samples, installed conditions to validate, and quantities for individual parts or sets |
DESIGN CONSIDERATIONS
Start with the module location, installation method and access requirements, then resolve the detailed fit.
Read the related design guide ↗Show contact surfaces and engagement positions in the assembly drawing, with the clip's attachment to the mating components.
Provide installed height, operating clearance and working deflection, then review both the free geometry and assembled state.
Describe the removal operation and intended contact condition, list inspection tasks and validate samples with the actual mating parts.
DESIGN CONSIDERATIONS
DRAWINGS & REQUIREMENTS
TOOLING & SAMPLE VALIDATION
Ruishuo makes tooling in-house, connecting die design and CAD/CAM simulation with stamping and inspection. The tooling route for your part is reviewed against the agreed drawing, material and assembly requirements.
For a shielding clip, tooling quality is relevant to the cut profile, bend position and contact geometry. The required behavior depends on the specified material, thickness and installed position. Review the clip with its mating component and define the intended functional check before treating an acceptable free-state outline as an acceptable assembled part.
Paid samples include a full dimensional inspection report. Ruishuo's inspection equipment includes 2.5D vision measurement systems, CMMs and profile projectors; measurement methods and any additional functional checks are selected for the project. Incoming, in-process and outgoing inspections support the agreed requirements as the part moves into production.
DRAWING → SAMPLE → PRODUCTION
Samples are paid, with the scope and cost agreed from your drawing and process requirements. Mass-production and delivery schedules are confirmed separately.
Timings depend on the agreed sample plan.
Tooling and sample production exclude mass-production delivery.
Identify the revision, mating parts, material, critical dimensions and sample quantity.
Confirm the manufacturing route, sample cost and schedule.
Review fit, contact and assembly, then complete the validation required by your project.
Approve the drawing revision, inspection criteria and packaging before scheduling the batch.
PRODUCT FAQ
Bring the available drawing and assembly details, even if some dimensions or material choices are still open.
Discuss your project ↗The installed contact positions and working clearance are also needed. Provide both the free-state drawing and assembly relationships to define the fit the clip must achieve.
Assess the spring working condition, contact requirements and surface finish, then specify the material in the drawing. A product photograph alone cannot establish material or working performance.
Match the attachment method, contact surfaces and component revisions first. Confirm installed height and working clearance, then validate the sample with the actual mating parts.
RELATED PRODUCTS
Review the fence's board position, edge dimensions and mating parts together with locating and grounding requirements.
View product ↗Define the frame's inner and outer boundaries, then review the mating cover, solder locations and contact points.
View product ↗Review frame-to-lid fit, contact areas and the space needed to remove the lid as part of the complete PCB assembly.
View product ↗